Classic SysAdmin: How to Run Your Own Git Server
The Linux Foundation | 07 May 2022
This is a classic article written by Swapnil Bhartiya from the Linux.com archives. For more great SysAdmin tips and techniques check out our free intro to Linux course.
Git is a versioning system developed by Linus Torvalds, that is used by millions of users around the globe. Companies like GitHub offer code hosting services based on Git. According to reports, GitHub, a code hosting site, is the world’s largest code hosting service. The company claims that there are 9.2M people collaborating right now across 21.8M repositories on GitHub. Big companies are now moving to GitHub. Even Google, the search engine giant, is shutting it’s own Google Code and moving to GitHub.
Run your own Git server
GitHub is a great service, however there are some limitations and restrictions, especially if you are an individual or a small player. One of the limitations of GitHub is that the free service doesn’t allow private hosting of the code. You have to pay a monthly fee of $7 to host 5 private repositories, and the expenses go up with more repos.
In cases like these or when you want more control, the best path is to run Git on your own server. Not only do you save costs, you also have more control over your server. In most cases a majority of advanced Linux users already have their own servers and pushing Git on those servers is like ‘free as in beer’.
In this tutorial we are going to talk about two methods of managing your code on your own server. One is running a bare, basic Git server and and the second one is via a GUI tool called GitLab. For this tutorial I used a fully patched Ubuntu 14.04 LTS server running on a VPS.
Install Git on your server
In this tutorial we are considering a use-case where we have a remote server and a local server and we will work between these machines. For the sake of simplicity we will call them remote-server and local-server.
First, install Git on both machines. You can install Git from the packages already available via the repos or your distros, or you can do it manually. In this article we will use the simpler method:
sudo apt-get install git-core
Then add a user for Git.
sudo useradd git
passwd git
In order to ease access to the server let’s set-up a password-less ssh login. First create ssh keys on your local machine:
ssh-keygen -t rsa
It will ask you to provide the location for storing the key, just hit Enter to use the default location. The second question will be to provide it with a pass phrase which will be needed to access the remote server. It generates two keys – a public key and a private key. Note down the location of the public key which you will need in the next step.
Now you have to copy these keys to the server so that the two machines can talk to each other. Run the following command on your local machine:
cat ~/.ssh/id_rsa.pub | ssh git@remote-server "mkdir -p ~/.ssh && cat >> ~/.ssh/authorized_keys"
Now ssh into the server and create a project directory for Git. You can use the desired path for the repo.
git@server:~ $ mkdir -p /home/swapnil/project-1.git
Then change to this directory:
cd /home/swapnil/project-1.git
Then create an empty repo:
git init --bare
Initialized empty Git repository in /home/swapnil/project-1.git
We now need to create a Git repo on the local machine.
mkdir -p /home/swapnil/git/project
And change to this directory:
cd /home/swapnil/git/project
Now create the files that you need for the project in this directory. Stay in this directory and initiate git:
git init
Initialized empty Git repository in /home/swapnil/git/project
Now add files to the repo:
git add .
Now every time you add a file or make changes you have to run the add command above. You also need to write a commit message with every change in a file. The commit message basically tells what changes were made.
git commit -m "message" -a
[master (root-commit) 57331ee] message
 2 files changed, 2 insertions(+)
 create mode 100644 GoT.txt
 create mode 100644 writing.txt
In this case I had a file called GoT (Game of Thrones review) and I made some changes, so when I ran the command it specified that changes were made to the file. In the above command ‘-a’ option means commits for all files in the repo. If you made changes to only one you can specify the name of that file instead of using ‘-a’.
An example:
git commit -m "message" GoT.txt
[master e517b10] message
 1 file changed, 1 insertion(+)
Until now we have been working on the local server. Now we have to push these changes to the server so the work is accessible over the Internet and you can collaborate with other team members.
git remote add origin ssh://git@remote-server/repo-<wbr< a="">>path-on-server..git
Now you can push or pull changes between the server and local machine using the ‘push’ or ‘pull’ option:
git push origin master
If there are other team members who want to work with the project they need to clone the repo on the server to their local machine:
git clone git@remote-server:/home/swapnil/project.git
Here /home/swapnil/project.git is the project path on the remote server, exchange the values for your own server.
Then change directory on the local machine (exchange project with the name of project on your server):
cd /project
Now they can edit files, write commit change messages and then push them to the server:
git commit -m 'corrections in GoT.txt story' -a
And then push changes:
git push origin master
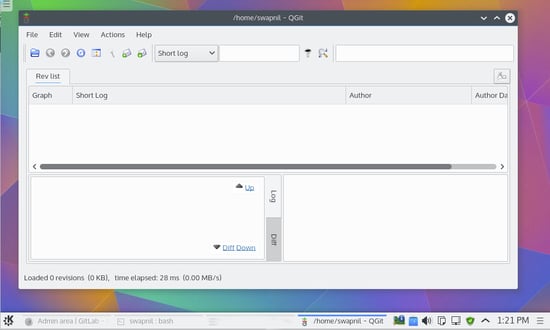
I assume this is enough for a new user to get started with Git on their own servers. If you are looking for some GUI tools to manage changes on local machines, you can use GUI tools such as QGit or GitK for Linux.

Using GitLab
This was a pure command line solution for project owner and collaborator. It’s certainly not as easy as using GitHub. Unfortunately, while GitHub is the world’s largest code hosting service; its own software is not available for others to use. It’s not open source so you can’t grab the source code and compile your own GitHub. Unlike WordPress or Drupal you can’t download GitHub and run it on your own servers.
As usual in the open source world there is no end to the options. GitLab is a nifty project which does exactly that. It’s an open source project which allows users to run a project management system similar to GitHub on their own servers.
You can use GitLab to run a service similar to GitHub for your team members or your company. You can use GitLab to work on private projects before releasing them for public contributions.
GitLab employs the traditional Open Source business model. They have two products: free of cost open source software, which users can install on their own servers, and a hosted service similar to GitHub.
The downloadable version has two editions – the free of cost community edition and the paid enterprise edition. The enterprise edition is based on the community edition but comes with additional features targeted at enterprise customers. It’s more or less similar to what WordPress.org or WordPress.com offer.
The community edition is highly scalable and can support 25,000 users on a single server or cluster. Some of the features of GitLab include: Git repository management, code reviews, issue tracking, activity feeds, and wikis. It comes with GitLab CI for continuous integration and delivery.
Many VPS providers such as Digital Ocean offer GitLab droplets for users. If you want to run it on your own server, you can install it manually. GitLab offers an Omnibus package for different operating systems. Before we install GitLab, you may want to configure an SMTP email server so that GitLab can push emails as and when needed. They recommend Postfix. So, install Postfix on your server:
sudo apt-get install postfix
During installation of Postfix it will ask you some questions; don’t skip them. If you did miss it you can always re-configure it using this command:
sudo dpkg-reconfigure postfix
When you run this command choose “Internet Site” and provide the email ID for the domain which will be used by Gitlab.
In my case I provided it with:
This e-mail address is being protected from spambots. You need JavaScript enabled to view it
Use Tab and create a username for postfix. The Next page will ask you to provide a destination for mail.
In the rest of the steps, use the default options. Once Postfix is installed and configured, let’s move on to install GitLab.
Download the packages using wget (replace the download link with the latest packages from here) :
wget https://downloads-packages.s3.amazonaws.com/ubuntu-14.04/gitlab_7.9.4-omnibus.1-1_amd64.deb
Then install the package:
sudo dpkg -i gitlab_7.9.4-omnibus.1-1_amd64.deb
Now it’s time to configure and start GitLabs.
sudo gitlab-ctl reconfigure
You now need to configure the domain name in the configuration file so you can access GitLab. Open the file.
nano /etc/gitlab/gitlab.rb
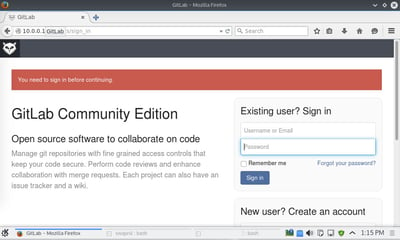
In this file edit the ‘external_url’ and give the server domain. Save the file and then open the newly created GitLab site from a web browser.

By default it creates ‘root’ as the system admin and uses ‘5iveL!fe’ as the password. Log into the GitLab site and then change the password.

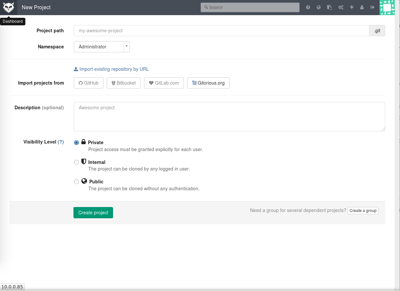
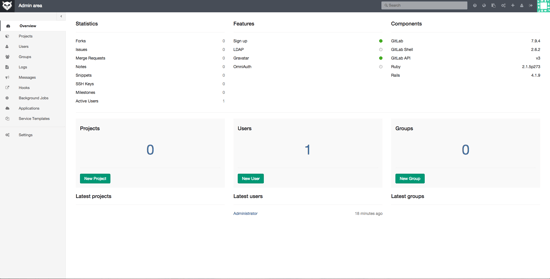
Once the password is changed, log into the site and start managing your project.

GitLab is overflowing with features and options. I will borrow popular lines from the movie, The Matrix: “Unfortunately, no one can be told what all GitLab can do. You have to try it for yourself.”
Ready to continue your Linux journey? Check out our free intro to Linux course!